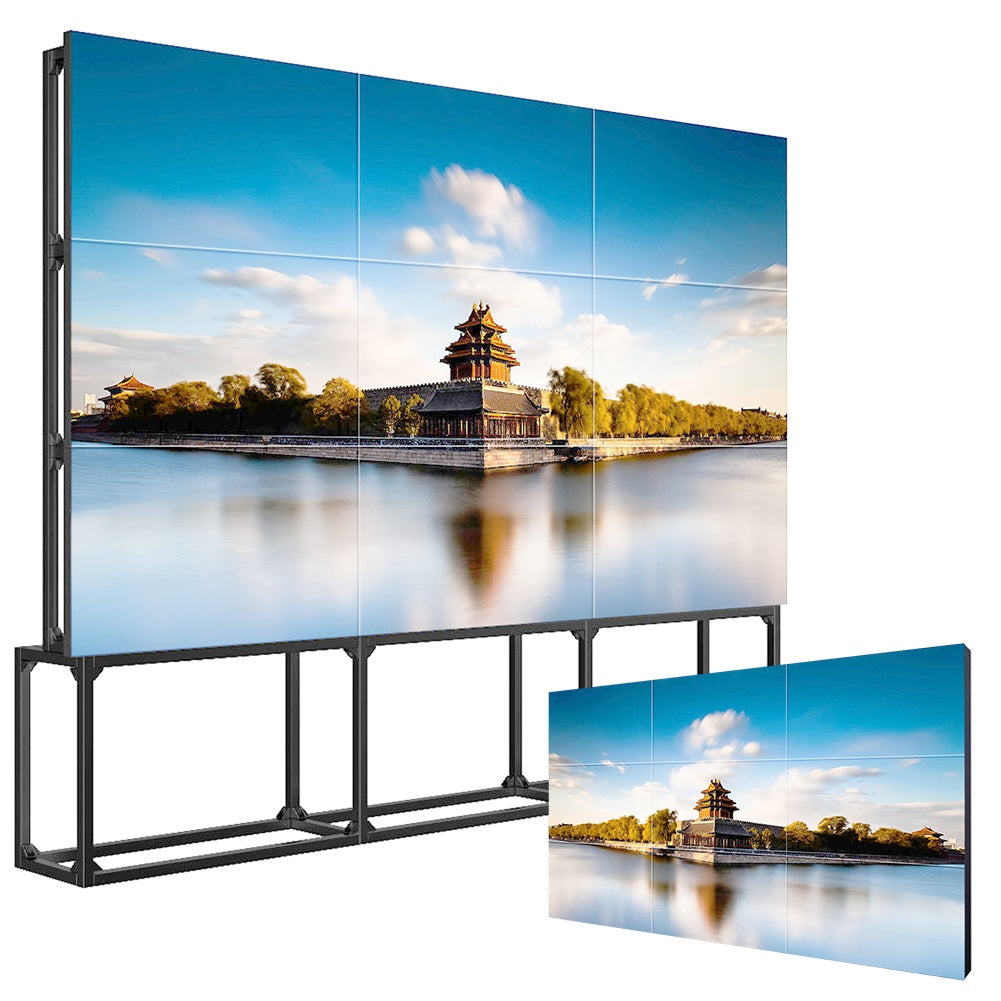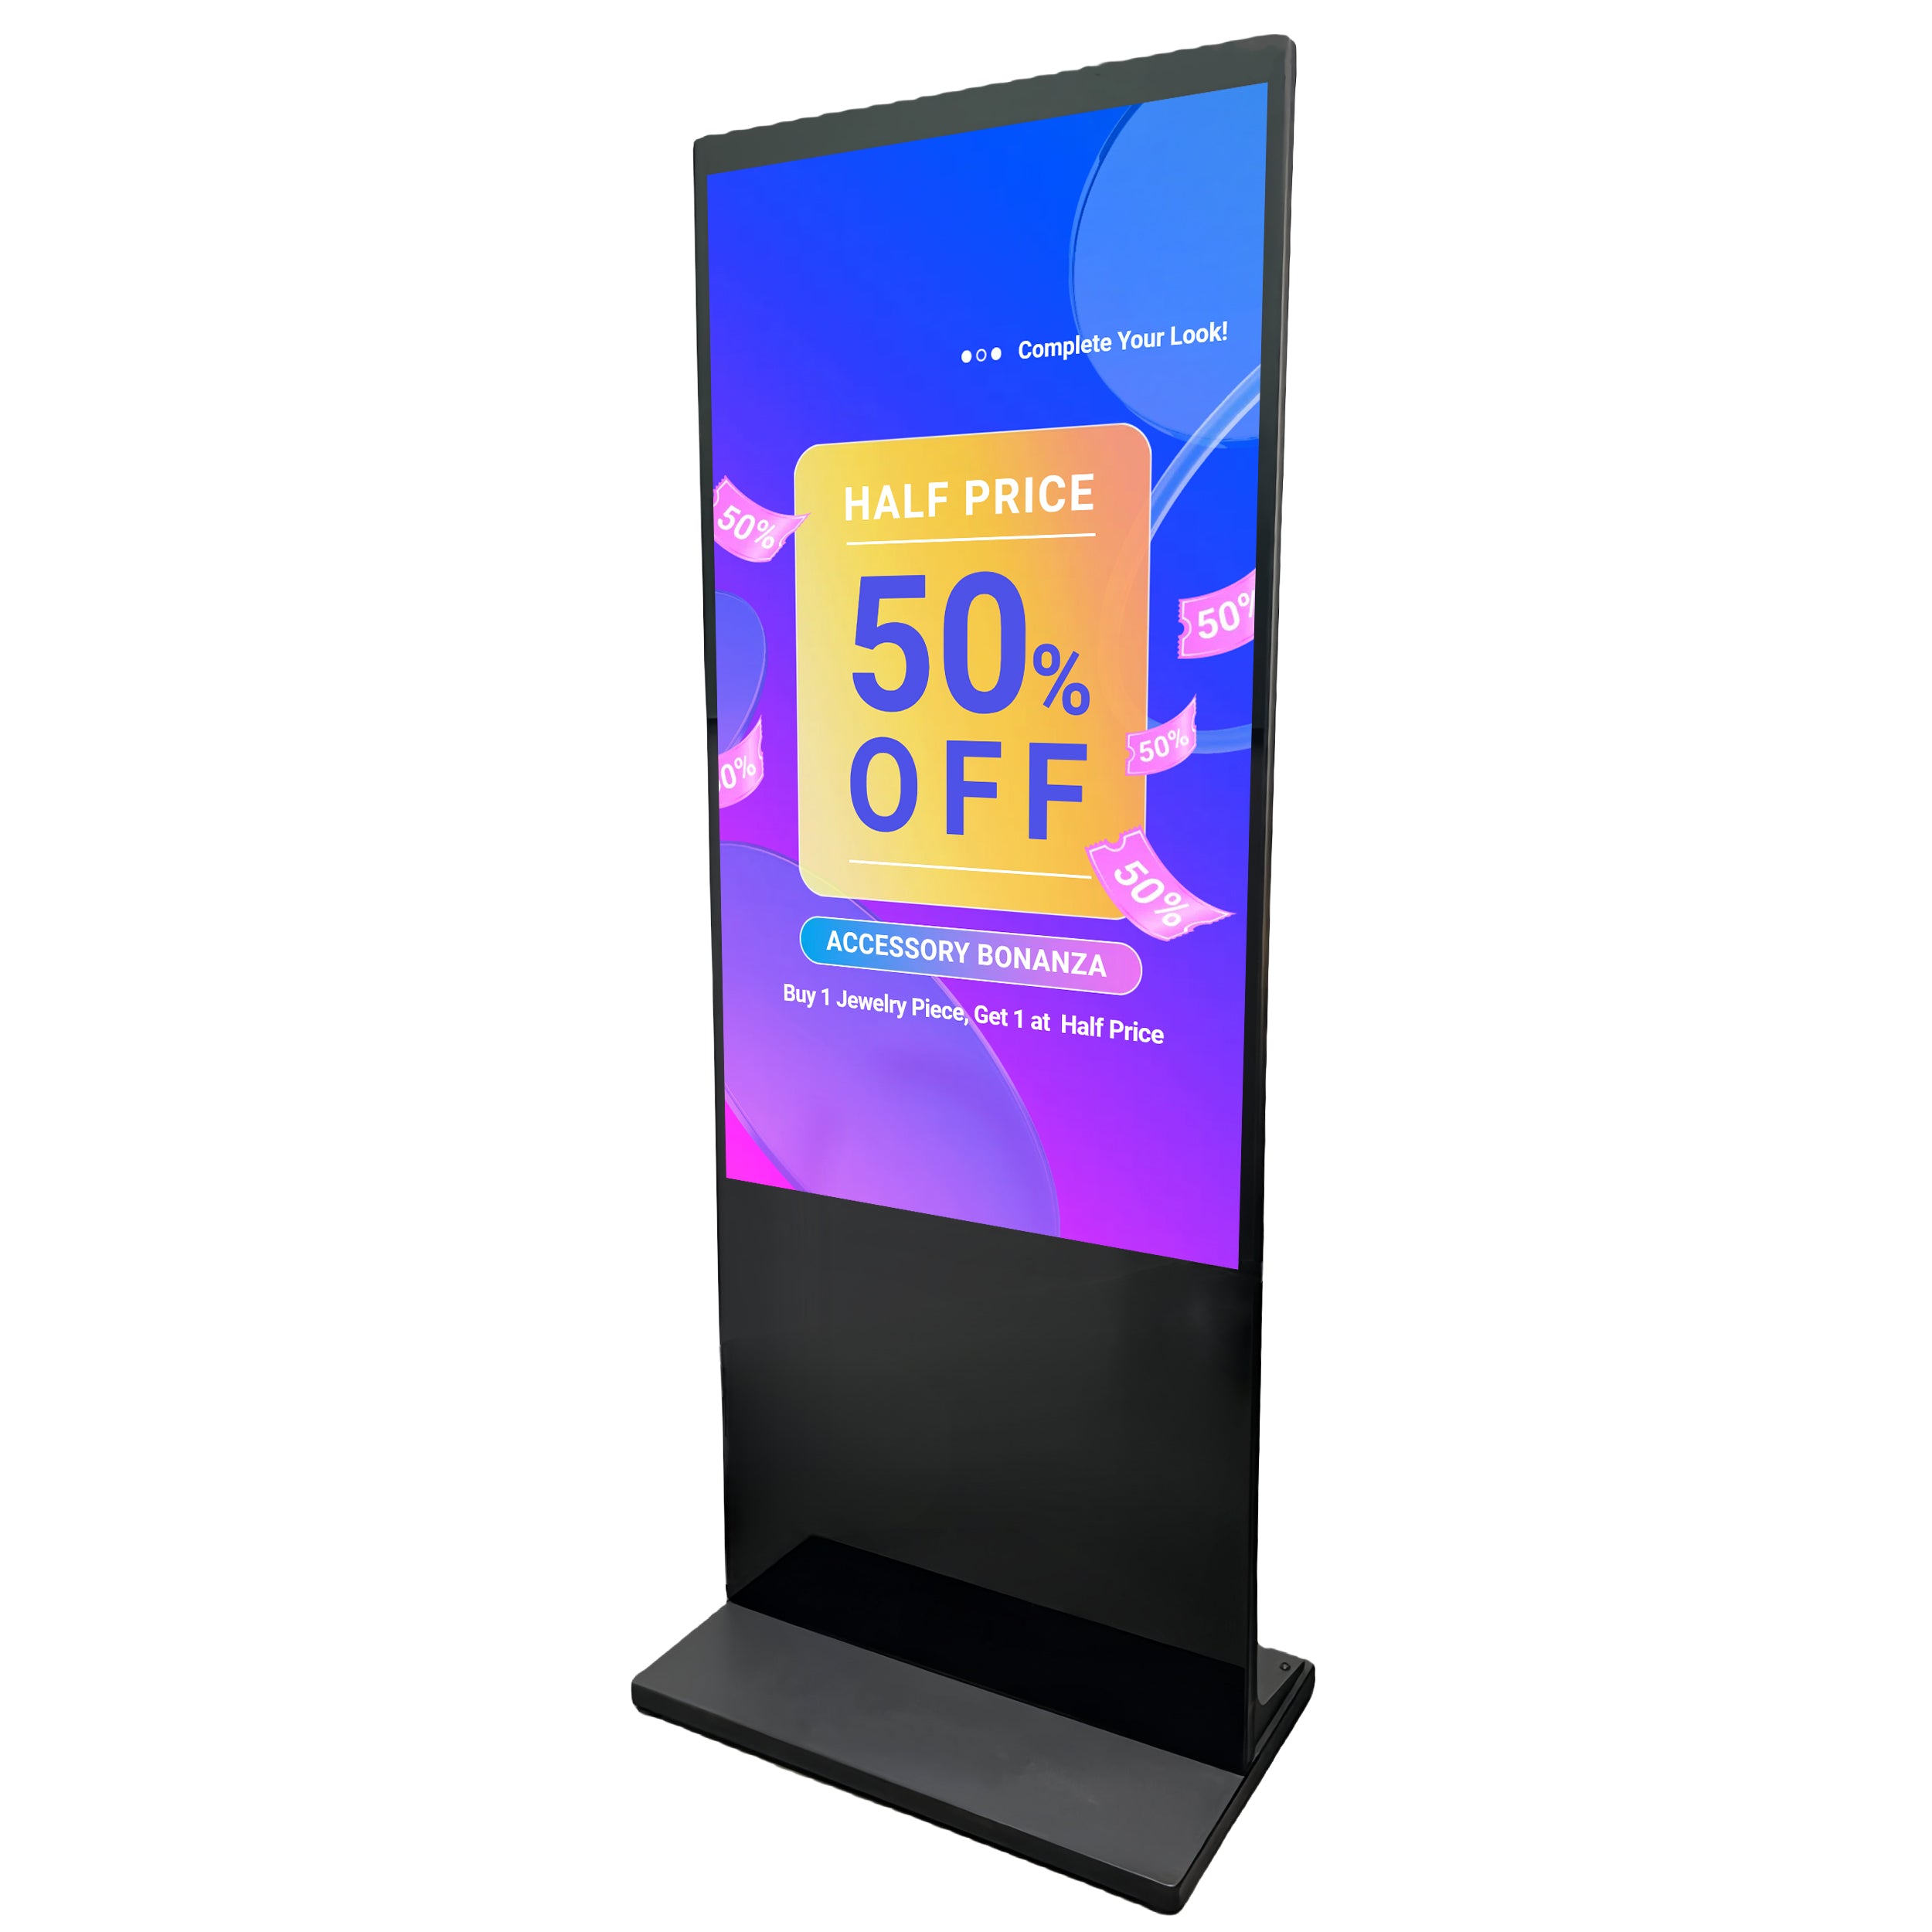

A field-ready guide to wall-mounted commercial displays: placement, bracket selection, cable routing, ventilation, viewing geometry, player design and service access.
Key takeaways
- Set height and angle from the viewer path, not from an empty wall.
- Match the bracket and fasteners to the wall and service requirement.
- Plan power, data and player access before closing the wall.
- Test glare, thermal clearance and removal procedure on site.
Place the image for the viewer, not the architecture
Start with eye line, approach direction, dwell time and the smallest critical content. A screen mounted too high may look symmetrical in a rendering but forces viewers to tilt their heads or makes details unreadable.
Map seated and standing viewers separately. Check side approaches and any columns, merchandise or open doors that can interrupt sightlines.
Choose the mount as part of the system
Fixed mounts minimize projection from the wall. Tilt mounts can improve elevated viewing. Articulating mounts support access and angle adjustment but add depth and mechanical movement. Select a rated mount and fastening method for the actual wall structure and display.
Document portrait or landscape orientation, VESA pattern, load, wall backing, safety retention and local installation requirements. Do not assume drywall alone is an acceptable structural attachment.

Plan power, data and player locations
Decide whether the media player sits behind the screen, in a recessed box, in a nearby rack or inside the display. Then design power, Ethernet, Wi-Fi conditions, HDMI length and service access around that decision.
Avoid inaccessible power strips and tightly bent cables. Label both ends, preserve ventilation and leave enough slack for safe removal without straining ports.
Control glare and viewing angle
Inspect the wall in the hours when the screen will operate. Windows, overhead lighting and polished surfaces can reduce perceived contrast even when the panel is bright. Angle changes may help, but content contrast and placement usually matter as much as brightness.
Use production content in the test. Thin type, gray text and dark video scenes reveal visibility problems better than a colorful test image.
Design for maintenance before handover
Ask how technicians will remove the screen, access ports and replace the player without damaging finishes. Confirm the tools, clearances, lifting method and whether one or two technicians are required.
Record the final cable map, mount model, display serial number, settings and photos. This information shortens future diagnosis and replacement work.
Decision table
| Mount type | Best fit | Watch for |
|---|---|---|
| Fixed | Clean, low-profile installations | Limited rear access |
| Tilt | Higher mounting positions | Bottom clearance and locking |
| Articulating | Frequent access or angle adjustment | Depth, movement and cable strain |
| Service pop-out | Tight arrays or specialized access | Model-specific alignment and cost |
Pre-purchase checklist
- Viewer paths and eye lines mapped
- Wall structure verified
- Mount rating and orientation confirmed
- Power/data/player access designed
- Glare tested at operating hours
- Removal and service method documented
Frequently asked questions
How high should a wall-mounted digital signage screen be?
There is no universal height. Set it from viewer eye line, distance, content and the path people take through the space.
Is a fixed mount always better?
No. It is visually clean, but a tilt, articulating or service-access mount may reduce viewing or maintenance problems.
Can the media player be hidden behind the screen?
Often yes, provided power, ventilation, signal reliability and service access are properly designed.
Continue your research
Editorial note: This guide provides a project-planning framework. Final specifications, environmental ratings, warranty coverage and acceptance criteria must be confirmed for the exact model and purchase agreement.