Lift-and-Learn Signage: Plan the Trigger, Reset and Display
A product lift is only the start. Define the content response, reset and fallback before choosing a sensor, player and display for your retail project.
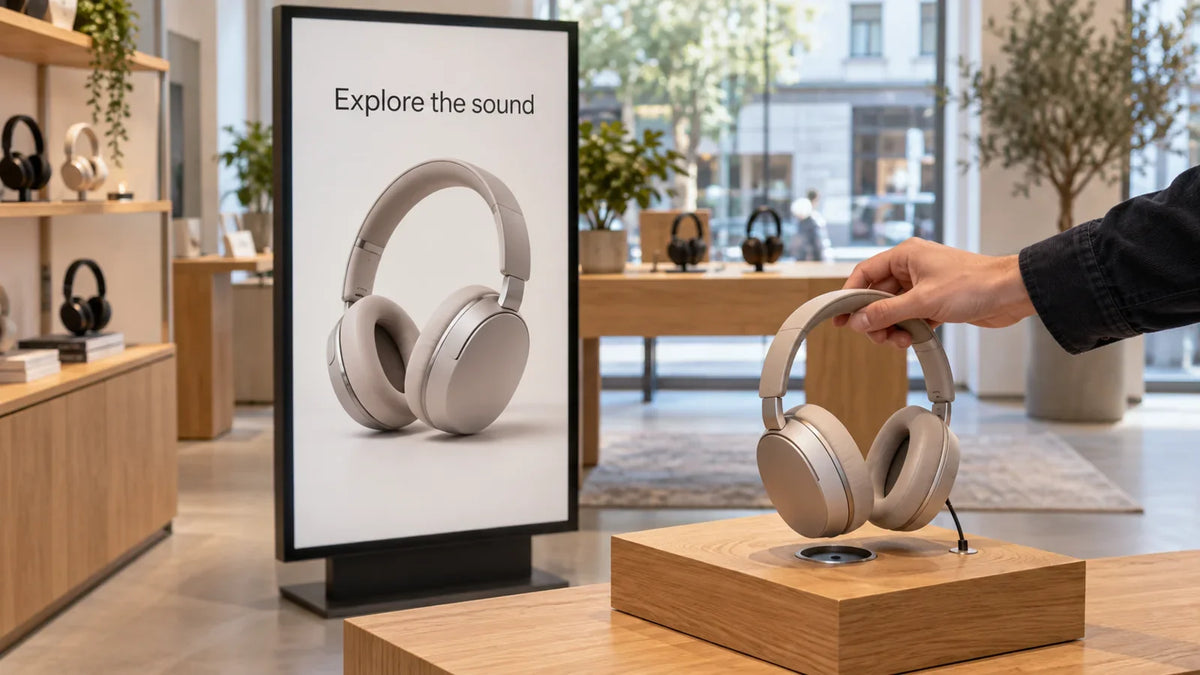
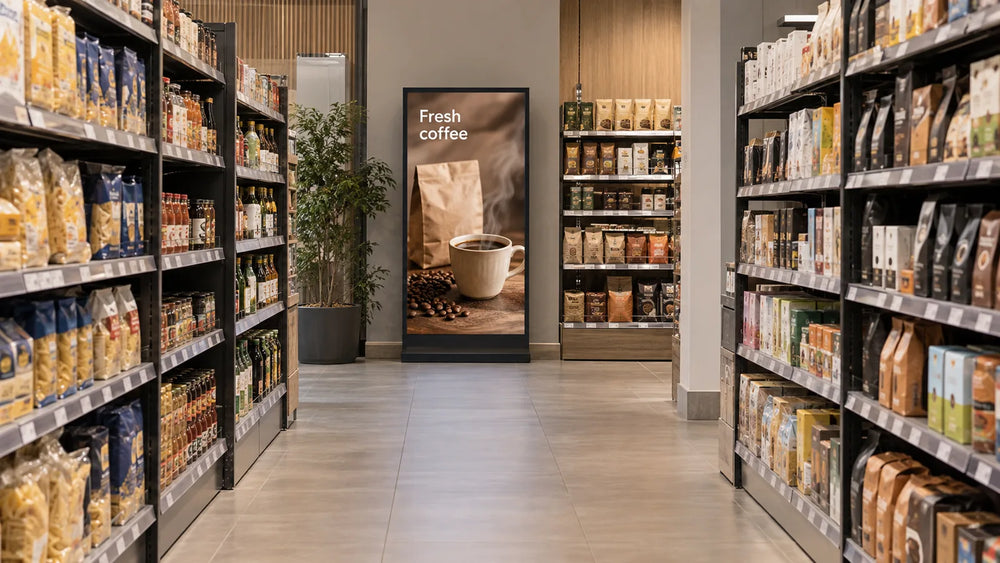
AI-generated retail concept showing headphones and matching display content; not a verified deployment or compatibility claim.
A hand lifts a product off a plinth, a meter away a screen changes, and the client asks for "that" — usually before anyone has written down what should happen when the product goes back. That missing rule is what the project gets judged on, and it is worth settling before the display is chosen, because the answer constrains the player, the controller and the screen you can use.
What the recent vendor news does and does not change
On 15 September 2026, HIVE Media Control announced native integration between its Beeblade media players and Nexmosphere's sensors and controllers, with sensor data arriving over USB or Ethernet into its Dataflow environment, a rules-based matching module, and JavaScript scripting. By its own description the integration covers Nexmosphere's interface boxes and the majority of its sensor portfolio — not all of it, a distinction worth keeping. HIVE also states it can send commands back to supported devices, so supported LED elements can form part of the interaction.
Read that as one vendor widening the options for one class of player. It does not establish that a given display supports the chain, that a USB port is sufficient, or that an installation behaves as demonstrated on a show floor.
What is actually a "lift-and-learn" event
Start by separating the sensor output from the playback behavior you want.
Three kinds get called by one name. Presence: a person or object enters a zone. Discrete trigger: an object is lifted, a tag read, a button pressed. State: a weight changes, or an object returns to a known position — usually the part that matters.
None of those three categories dictates what the screen does. A sensor reports state; your application decides what to do with it. A person can remain in a presence sensor’s detection zone for a minute, and the rules you write determine whether that means one playback, a loop for the duration, or nothing at all. A lift sensor that reports "removed" can equally emit a single event, a held state, or repeating events until the object returns — that is a controller and configuration question, and the exact behavior has to be confirmed against the controller and protocol you actually buy.
So the decisions to write down are these: does the content play once or repeat, what ends it, and what the screen shows in between. Between them they answer the question a client will ask in the first week of operation: what happens when someone picks the product up and walks away with it.

What the hardware chain actually needs
Four items belong in the spec, and none is the screen size.
- How the sensor connects. USB or Ethernet is not a preference, it is a cabling, power and distance decision. USB has a practical length limit; Confirm Ethernet addressing and whether the selected topology needs a switch.
- How many sensors, and what happens when they disagree. Two sensors may detect the same action at different times. Which one wins is a rules question, and it must be answered before installation, not during it.
- What the display must do when nothing is happening. Idle content, black screen, or a scheduled playlist. Specify the idle content before reviewing the installation.
- What the display does when the chain breaks. Behavior here depends on the controller, player logic and display settings in the chosen configuration. For a lost sensor connection, the player may continue content, use a timeout or select a fallback according to its application logic. Loss of the video signal is a separate test of the display’s no-signal behavior. Find out which one yours does, decide whether that is acceptable, and write the fallback into the brief rather than discovering it on site.
That last item is where the display choice becomes real. If the fallback must be a specific idle state or a visible fault indicator, something in the chain has to carry that instruction — and not every configuration can.
The word "reset" is used loosely in project meetings, so define it in the brief. The decision is the content state logic: which state the screen is in before the interaction, which state it moves to, what returns it, and how long that takes. Which component issues the return instruction depends on the architecture — the player, the controller, or logic in the CMS — and controller platforms may send commands back to sensor hardware as well; HIVE, for example, states that it can send commands back to supported Nexmosphere devices. Name the component that owns the state change in your design, and test that it does.
Where these installations fail
False triggers come first. A sensor that reacts to a passer-by, a reflective surface or a neighboring display's light makes the installation feel broken even when every component works. Detection depends on sensor specifications, placement and the fixture, so test it on the actual furniture.
Reset ambiguity comes second. If the product is returned to the wrong spot, or two are lifted together, or someone walks away holding it, the system needs a defined answer. "It resets after a set interval" is a decision someone makes and someone else tests.
And a sensor cable under a fixed plinth, or a player box behind a sealed panel, can make an otherwise accessible repair require dismantling the fixture. Include the sensor run in the same access plan as the display.
Whether an installation needs touch at all is a separate question. A lift-and-learn interaction can be triggered without touching the screen. Its event, reset and fallback rules still need to be specified for the selected controller and application. For how screens are positioned and fed, see retail placement and content.
What to test on site, before sign-off

Four checks, on the real fixture, in the real lighting, with the real content.
- Detection range. Walk the zone from several approach angles and note where it starts and stops. Do it at opening time and in evening light if the space changes.
- False trigger. Bring passers-by past the plinth at normal speed, and stand where staff will stand. Record any activation outside the intended interaction zone.
- Reset. Lift the object and put it back. Lift two objects. Remove one entirely. Confirm the screen returns to a known state in every case, and time how long it takes.
- Disconnected. Unplug the sensor connection while content is playing, and again while it is idle. Whatever the screen does next is what your client will see one day, so it should be a decision rather than a surprise.
Then write down what "working" means, in one paragraph, and attach it to the handover. It is how the next person who services the installation knows whether what they see is a fault or the design.
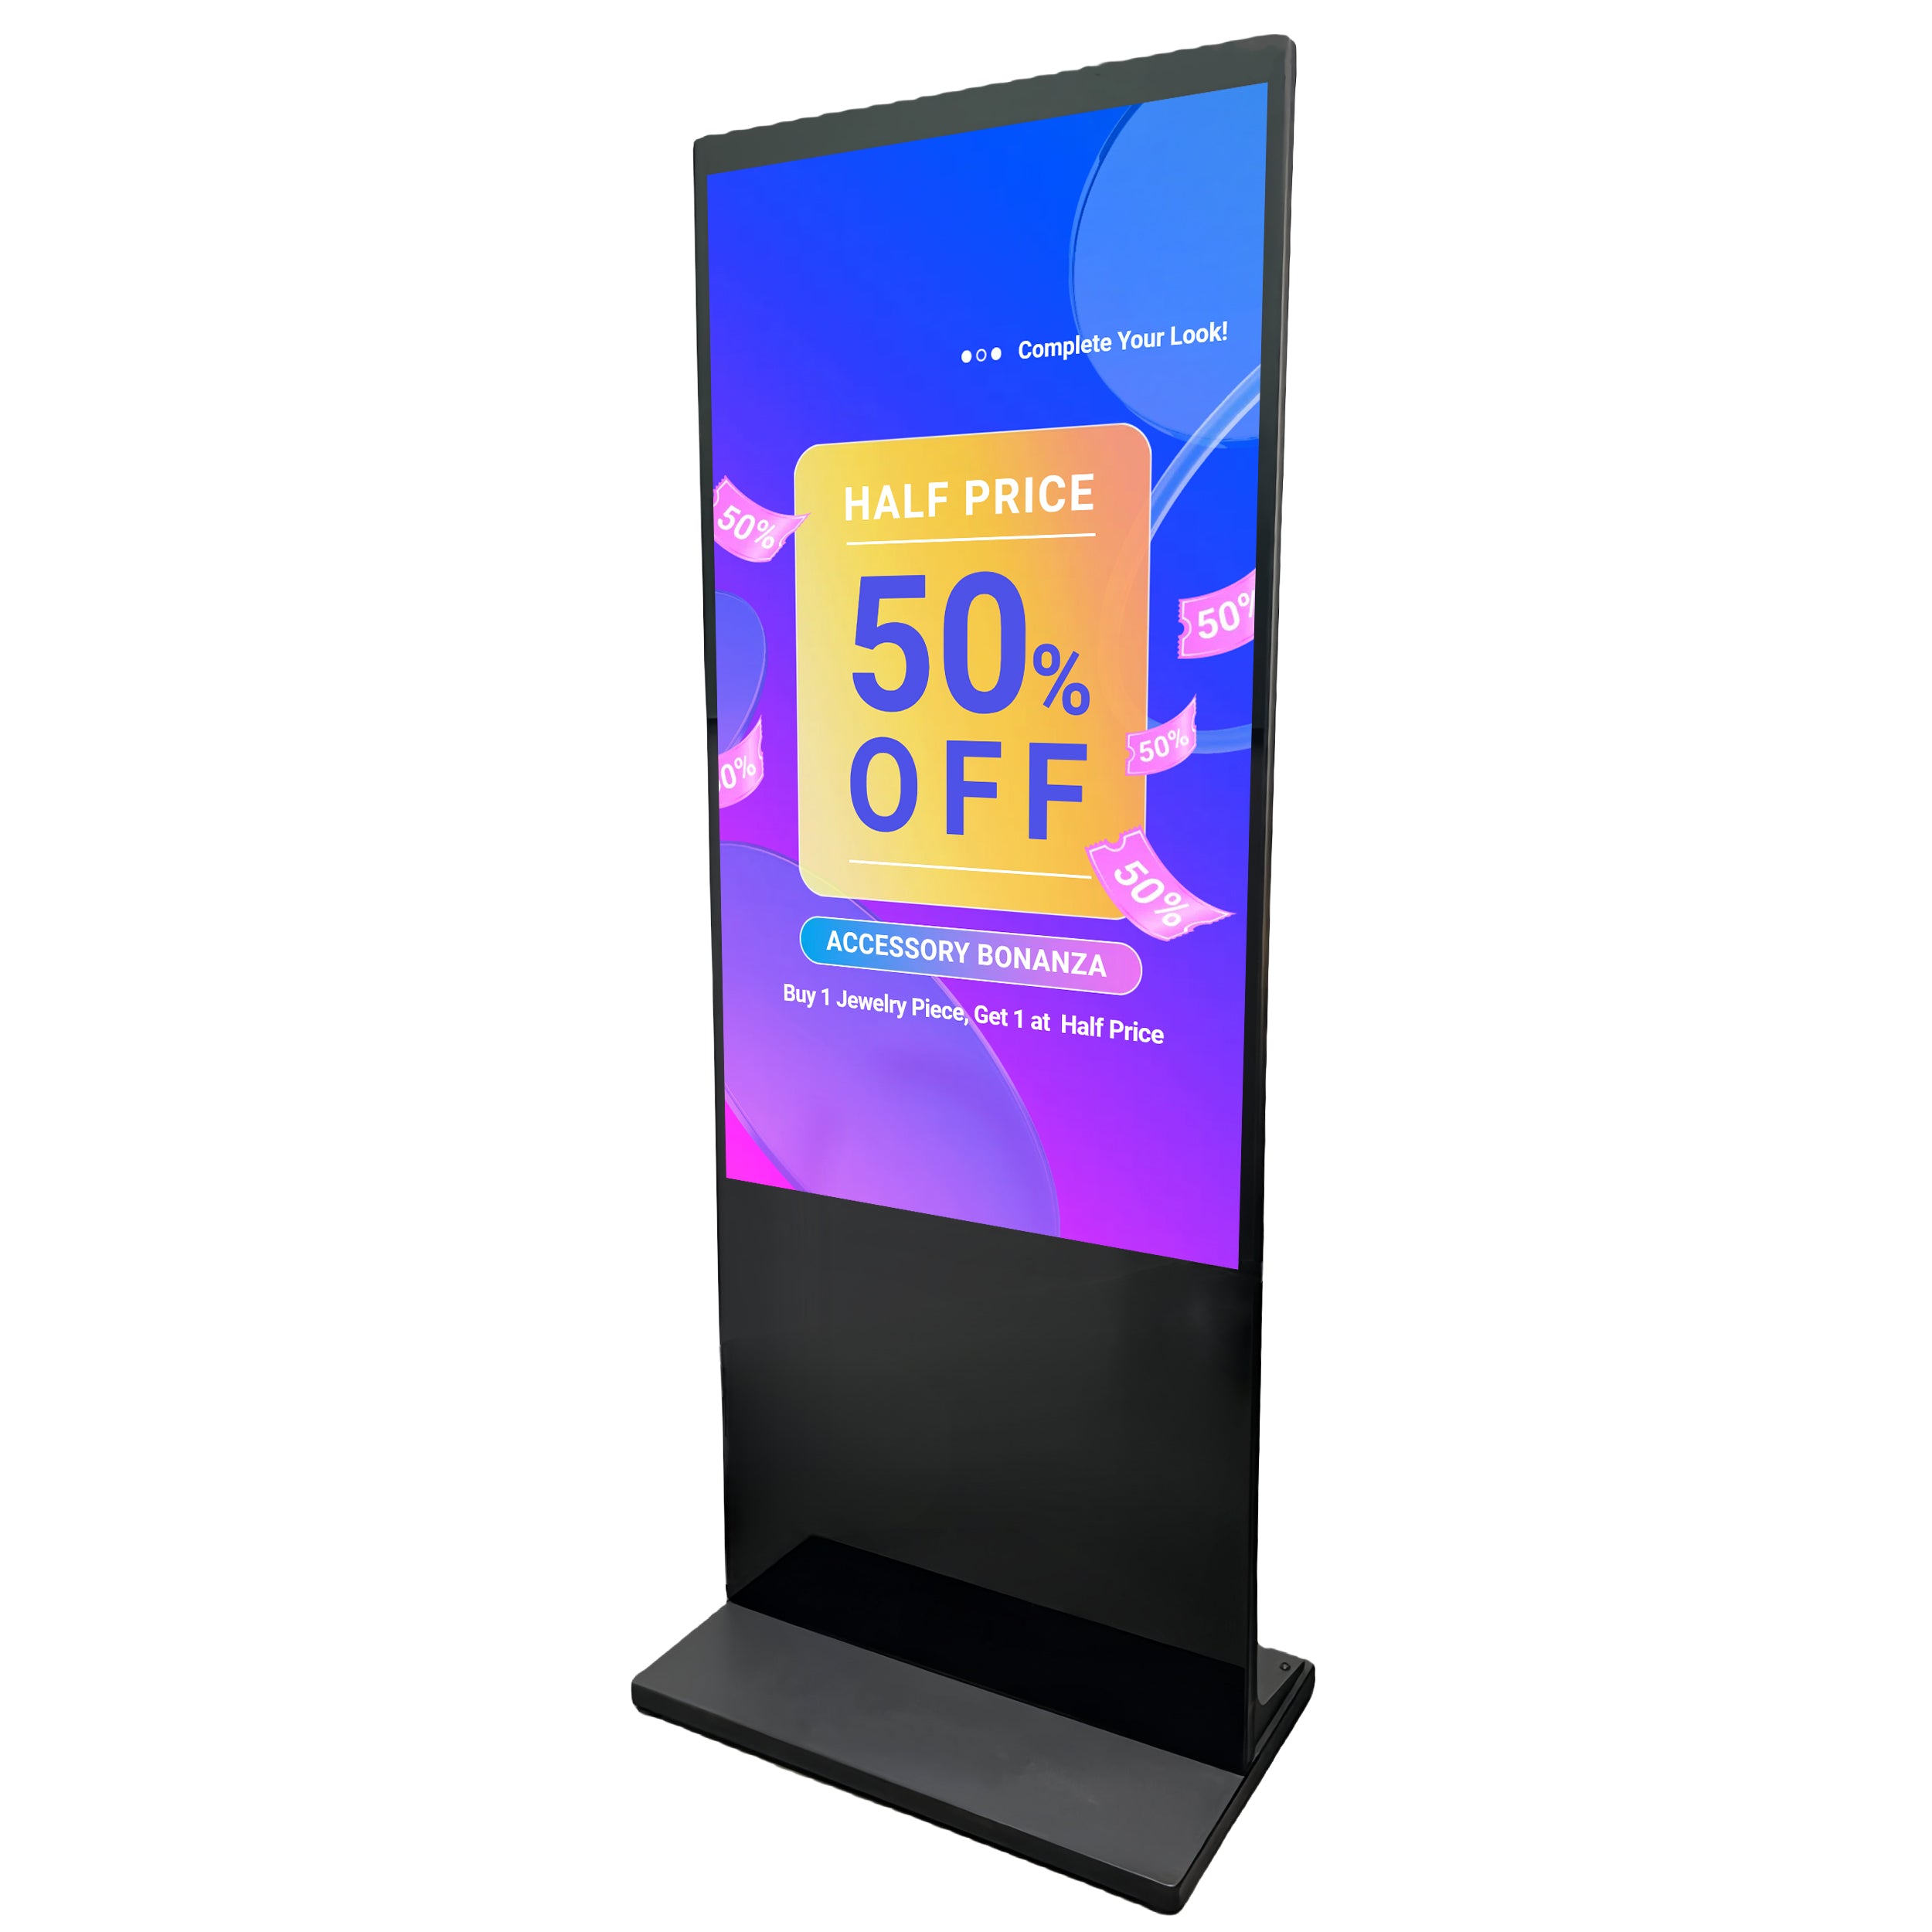
We build the display and installation layer of that chain — floor-standing and wall-mounted commercial displays in 43–65 inches, for system integrators and software solution providers. Whether a sensor event reaches the screen depends on your player and CMS, so we do not claim pre-verified compatibility with any sensor or media-player platform. What we can do is work through the display-side requirements of your event list. Send us the events, the fixture layout, and the player you are planning to use.